|
This is part 2 of the setup of SharePoint Server 2010. This article will cover the installation and post setup configuration of SharePoint Server 2010. Back to Part 1

Once the installation is complete, you will the following screen which will ask you to run the Post Setup Configuration wizard (PSConfig). This is a step-by-step by process to configure certain elements to configure the SharePoint farm
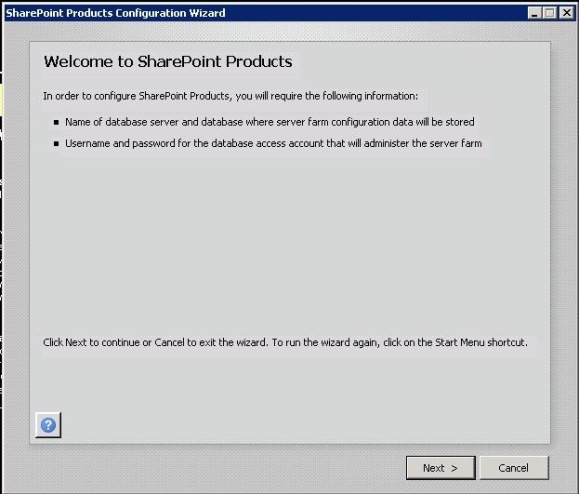
Clicking “Close” on the above screen will start the PSConfig wizard.
4. Post Setup Configuration
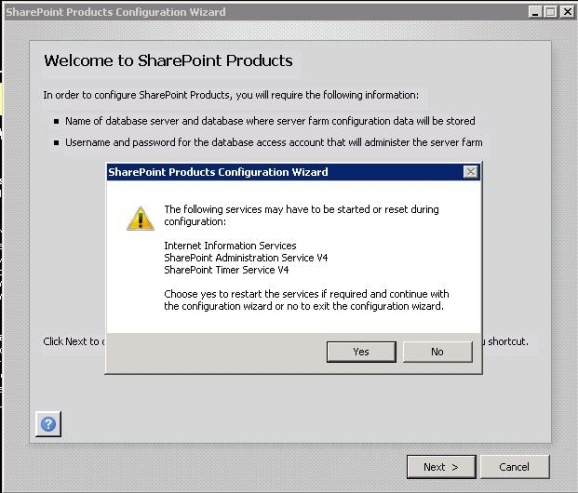
As we chose the “Complete” option, it is necessary to provide the details of a SQL Server which would be used to create the different databases for SharePoint Server 2010. Click Next and a warning is shown and click on Yes if you want to continue with the wizard.
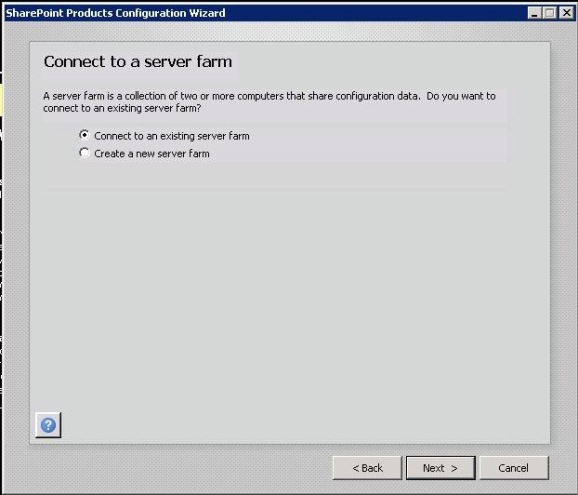
We get two options; Connect to an existing farm or Create a new farm. For development purposes, it is more than enough to have one box where SharePoint Server is installed and so select the second option and click Next.
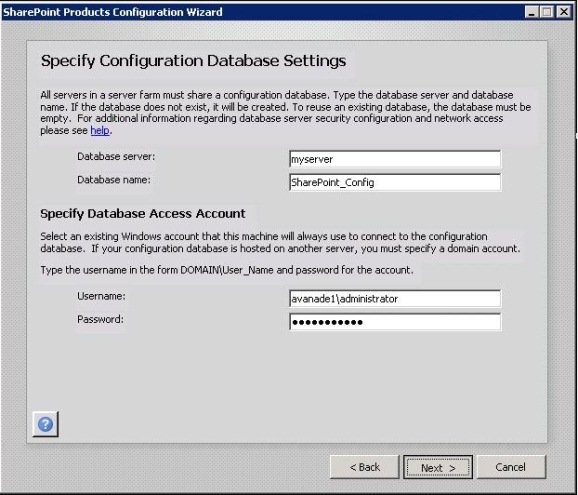
In the following screen, you have to provide the Name of the Database Server, the name of the configuration database and the account that should be used to connect to the SQL Server. The account should be part of the DBCreator and Securityadmin role in SQL Server. Please see the following link for more details - http://technet.microsoft.com/en-us/library/ee662513.aspx
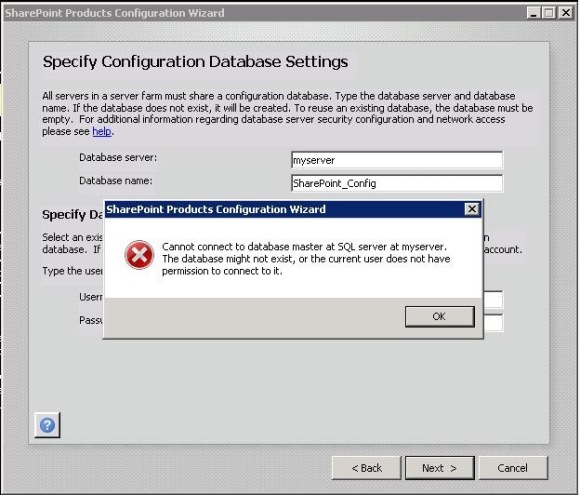
You will the following screen if the SQL Server doesn’t exist or the database access account doesn’t have the necessary privileges to create the database.
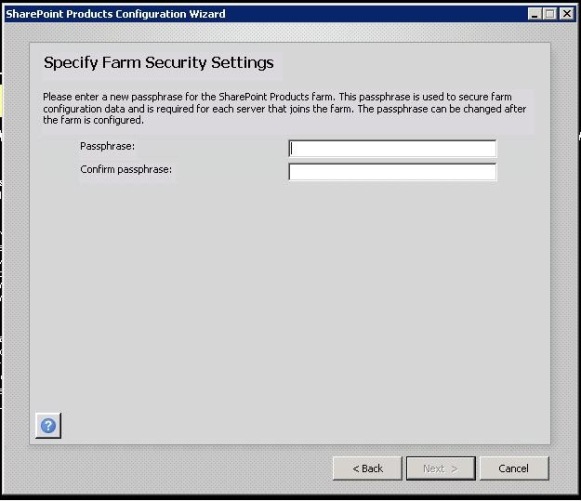
Once the issue with the connectivity with the SQL server is fixed, click on Next and the following screen will be shown. This is a new concept that is introduced in SharePoint 2010. The Passphrase is used to secure configuration data for automatic password management as well as to provide more control over who can join a server to a farm.
• Enter a secure passphrase
• Must consists of eight or more characters that are a combination of letters, numbers, and symbols
• Do not forget this passphrase. You need it to join other servers to the farm.
Click Next after providing a secure passphrase and you get a screen to configure the SharePoint Central administration site.
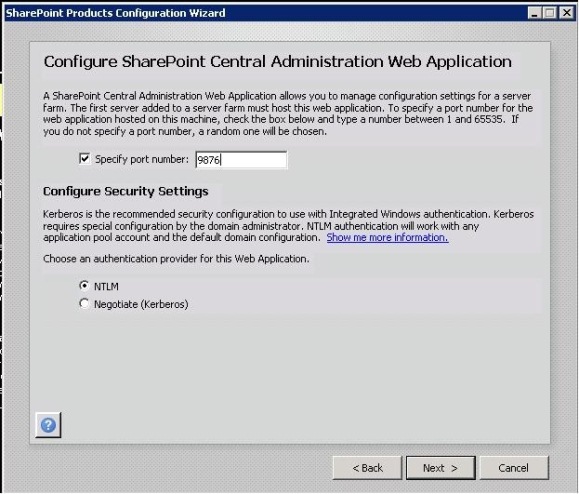
You have to provide the port for the SharePoint Central Administration Site and also select the authentication provider. If you do not provide a port number, then the setup will create the Central administration site on a random port. The default value for the Authentication provider is NTLM which doesn’t need any further configuration. If you wish to select Kerberos, then please ensure that necessary configuration is made in the SharePoint box as well as in the domain controller of your active directory.
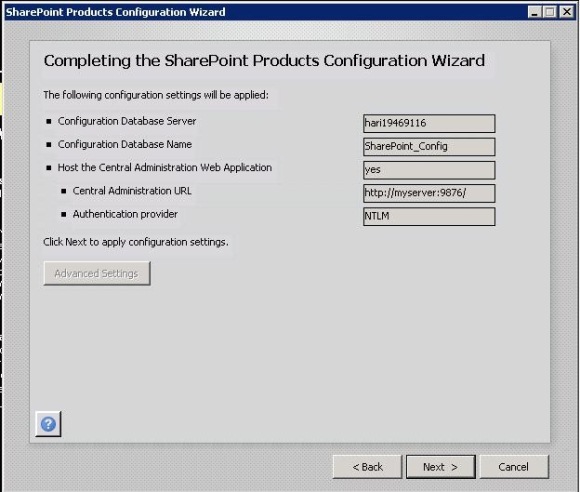
Click Next will show the selected options so that you can change it if required. The Advanced Settings will be enabled on an additional server in an existing farm.
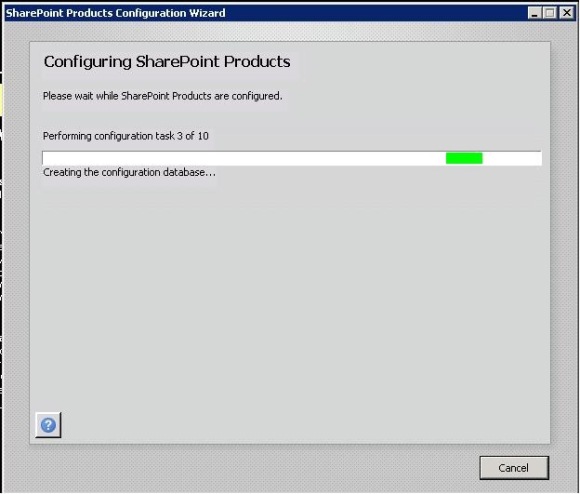
Click Next and this will start the Post Setup Configuration of the SharePoint installation.
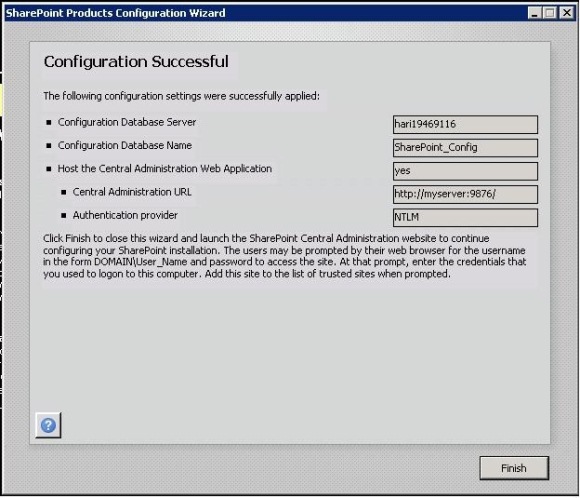
You will see the following screen once the configuration completed successfully. If the process failed due to any reason, then the first place to start troubleshooting is the PSCDiganostic logs located in this location - C:\Program Files\Common Files\Microsoft Shared\web server extensions\14\logs\
Click on Finish will open the Central administration Site and will start the Farm Configuration Wizard to configure the services.
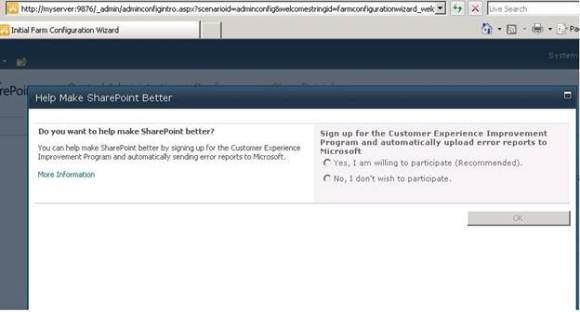
The first screen will ask you whether you are interested to provide feedback to Microsoft to make SharePoint Better. You can click Yes or No and then click Ok.

Now the following screen is shown which will give the option to Start the Configuration Wizard. You can do this later as well through the Central admin site if you do not want to do this now.
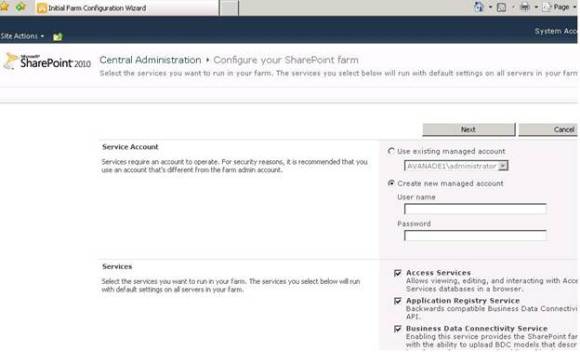
Click on the button to start the wizard which will give the following screen. You can select the account which is used to install and configure the box or create a new account for all the services which we are going to provision through this wizard. Also select the services which are necessary for you and then click Next.
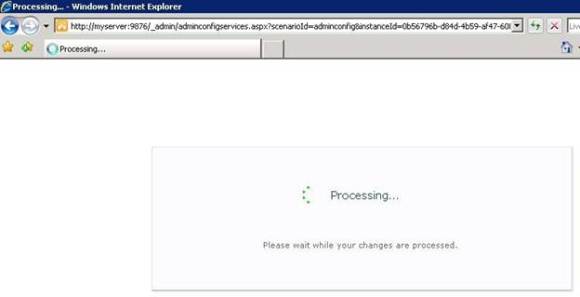
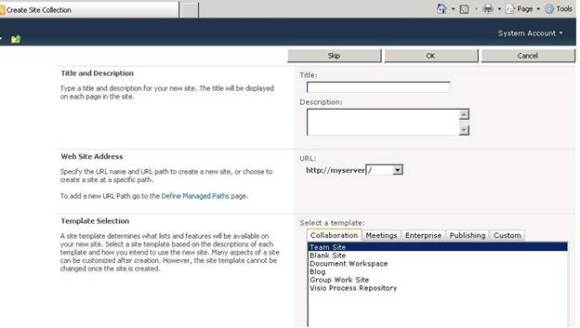
The Farm configuration wizard will take some time to finish and the following screen is shown to select the template for the default web application on Port 80. You can Skip this by clicking on the Skip button or select the Template for the root site collection and click OK.

If you have selected a template and clicked OK, will create a root site collection and will show the following screen.
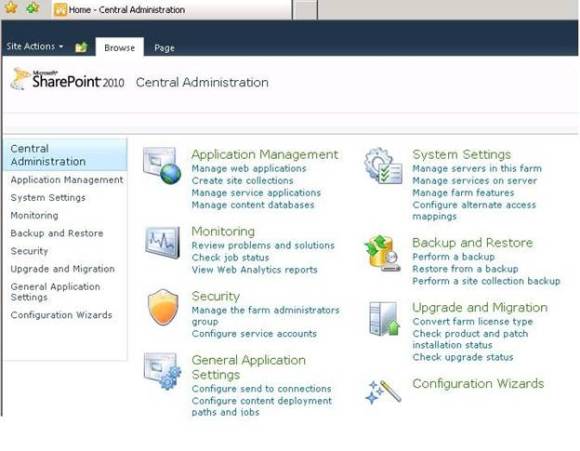
Click on Finish will open the SharePoint Central administration site and now your SharePoint box is ready for consumption.

Back to Part 1
|