This is part 2 of installing Microsoft SharePoint Server 2010. In this section we'll cover the installation and post setup configuration. Back to Part 1
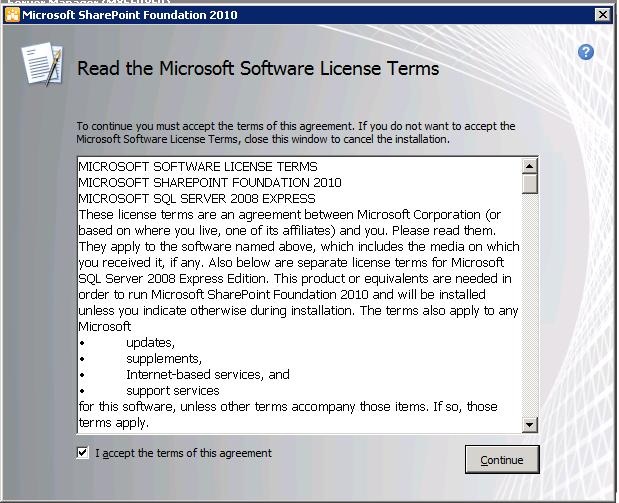
Accept the EULA and click on Continue which will give you the option to select the type of installation.There is no Product key for this as this is a free product.

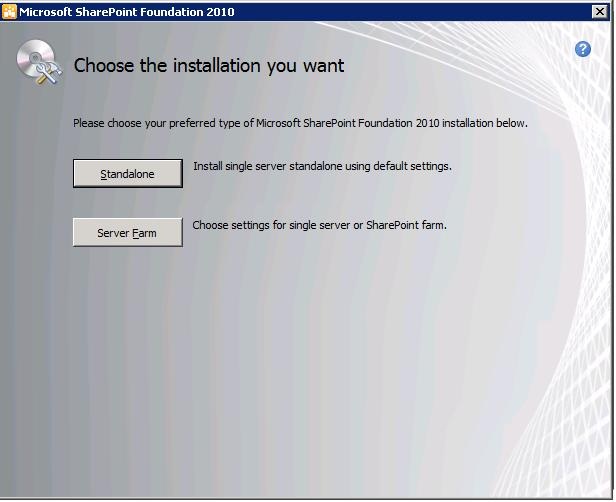
The different installation types are discussed initially. If you don’t have a separate SQL server instance, then you can click on the “Standalone” button or “Server Farm Standalone”. The installation of SharePoint using the Standalone option is a very straightforward one and no option to provide any input and your server would be ready for consumption after some time. In this document, we will be focusing on the Standalone installation of SharePoint Foundation.
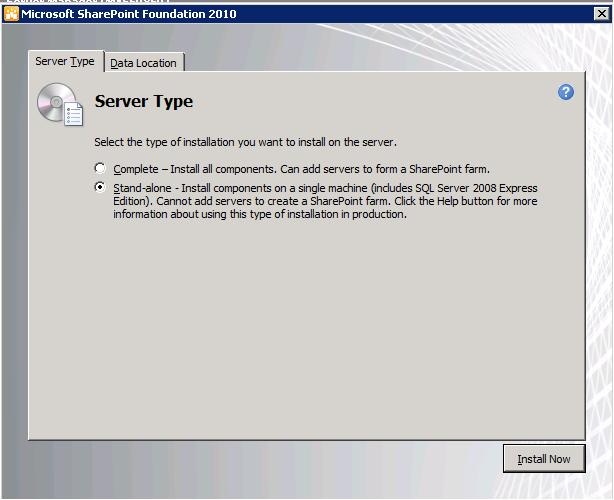
Click on “Server Farm” which will bring the above screen. Select the “Stand-alone” option and click on the File Location tab. The default installation location is shown and has the option to modify the same.
Click on Install Now which will trigger the installation process of SharePoint Foundation.
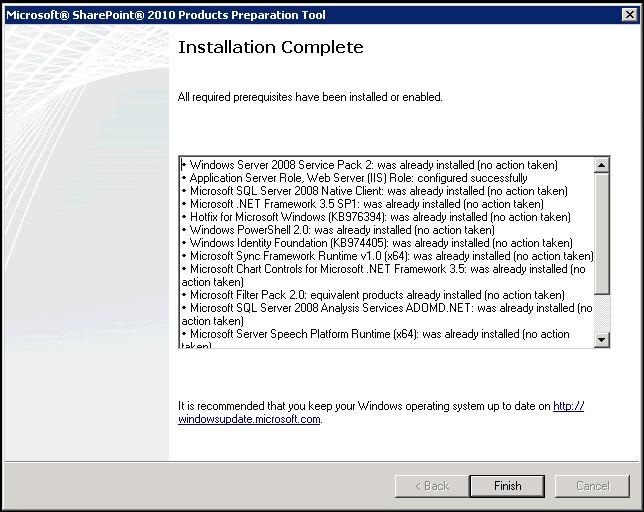
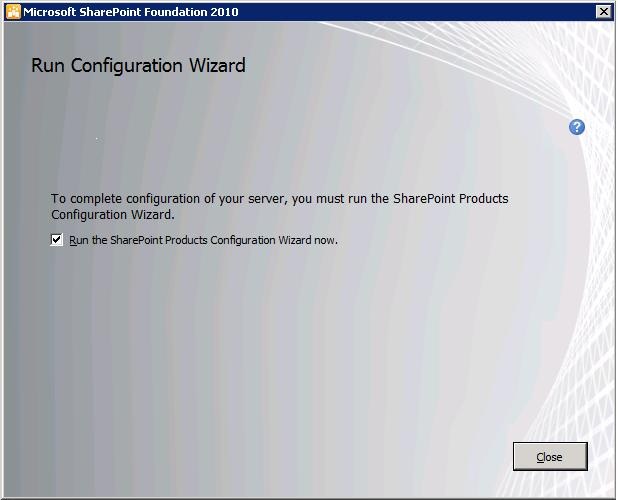
Once the installation is complete, you will see the following screen which will ask you to run the Post Setup Configuration wizard (PSConfig). This is a step-by-step by process to configure certain elements to configure the SharePoint Foundation
Clicking “Close” on the above screen will start the PSConfig wizard.
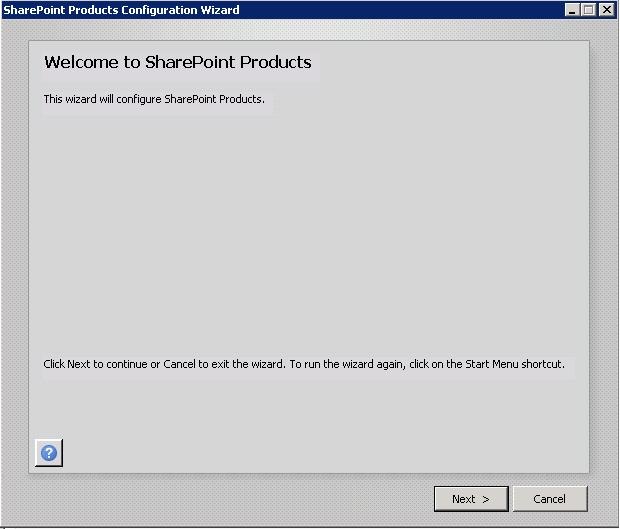
Post Setup Configuration

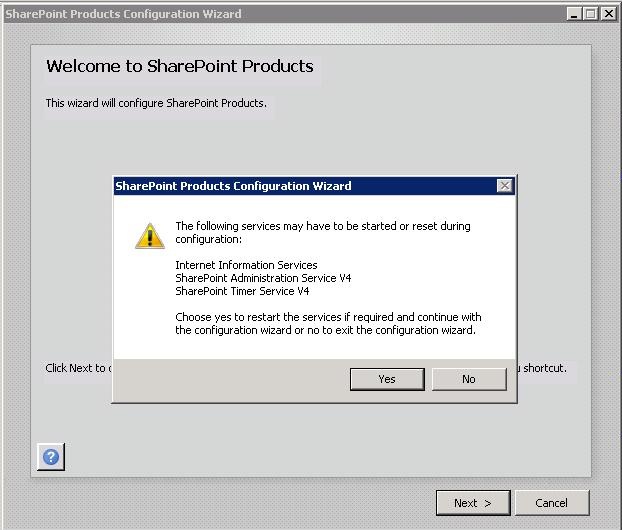
As we chose the “Stand-alone” option, there is no way to specify any values for the configuration. This process will install SQL Express and all the necessary databases as well. Click Next and a warning is shown and click on Yes if you want to continue with the wizard.

The wizard will create the necessary databases and will take a while to finish. This is the easiest way to install SharePoint Foundation for a novice user.
Click on Finish and this will take you to the default web application that is created as part of the configuration process.
You will see the following screen once the configuration completed successfully. If the process failed due to any reason, then the first place to start troubleshooting is the PSCDiganostic logs located in this location - C:\Program Files\Common Files\Microsoft Shared\web server extensions\14\logs\
Back to Part 1