Purchasing an SSL Certificate
A typical Certificate Authority (and one widely used in the US) is www.godaddy.com. Through godaddy.com you can buy a standard SSL Certificate (which just verifies your domain exists) for as little as $14.99 per year depending on their current promotions. Or you can buy a higher level of SSL Certificate (with godaddy.com verifying your company information) for up to $499.99 per year, depending on the SSL Certificate required. You can also obtain a free 90-day SSL Certificate from www.instantssl.com, if you want to experiment with SSLs (you can, of course, renew your free SSL Certificate after the 90 days).
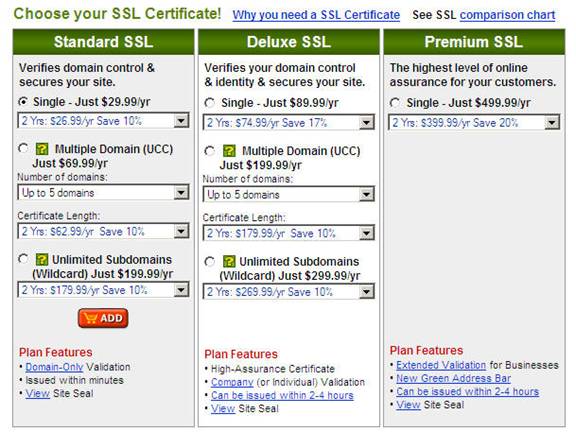
To show the process for buying and applying an SSL Certificate to your Web site, we’ll buy and set up a basic SSL Certificate from godaddy.com (the steps are very similar to all other Certificate Authorities). The process starts with choosing the certificate level and add-ons you want to buy:
After purchasing the SSL certificate from godaddy.com, you need to go into the My Account window by logging in and clicking the “Manage SSL Certificates” link. This will display a new dialog with a link to “Set up Certificate” which you should click. The Set up New Certificate dialog appears:
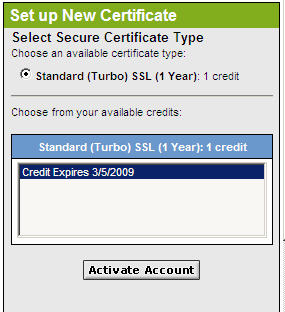
Click the Activate Account button. This will display another summary window that has a link to the certificate, like this:
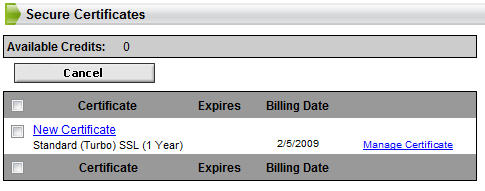
Click the Manage Certificate link to the right of Certificate entry you want to work with. This will open another window:
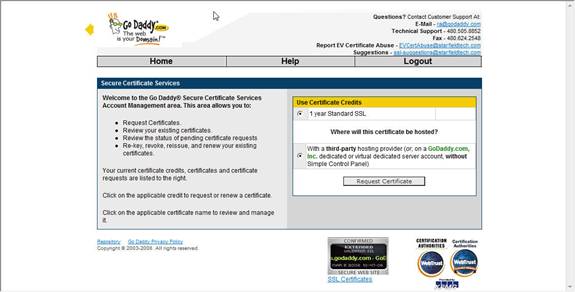
If the domain you are creating the SSL Certificate for is not hosted with the Certificate Authority (in this case godaddy.com), make sure you check the appropriate box, then click the “Request Certificate” button.
The dialog that appears lists the account information you entered when you bought the certificate to the left, as well as an entry field for the CSR to the right. Paste the CSR into the field (note there is a link with instructions for creating CSRs for most Web servers):
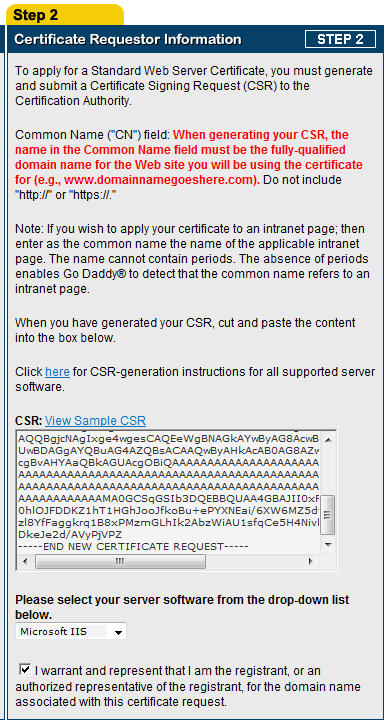
At the bottom of the window, click the “Continue” button.
This will display a confirmation dialog, which you can then accept by clicking “Confirm”. When you do, the Certificate Authority will then begin the generation of your SSL Certificate. Typically, this means that an
email is sent to the contact person listed for the domain, and they must respond before the certificate is issued. For higher levels of SSL Certificates, you will be asked for information about the company to prove it matches the information in the CSR.
Installing an SSL Certificate
After a certificate request has been approved by the site administrator or contact (as registered with the domain controller), the SSL Certificate become effective through the Certificate Authority. You will usually be given a link or sent an email from the Certificate Authority telling you how to obtain the SSL Certificate.
In most cases, the certificate will be sent as a ZIP file with two files inside, one for the actual certificate and one with configuration data for your web server. Extract the two files to a folder or directory on your web server. You can then install the SSL Certificate. The steps below show how to install an SSL Certificate on Microsoft IIS 6 running on a Windows 2003 Server platform, but instructions are available for all current web servers through the Certificate Authority’s site.
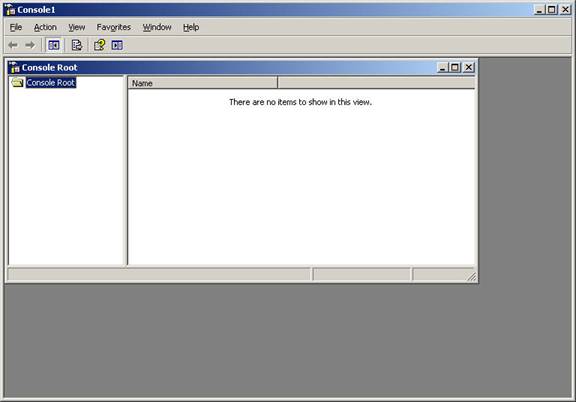
- IIS requires an intermediate certificate bundle to be installed before the certificate itself is installed. To do this, open a DOS console or select Run from the Start menu, then type “mmc” to launch the Microsoft Management Console:
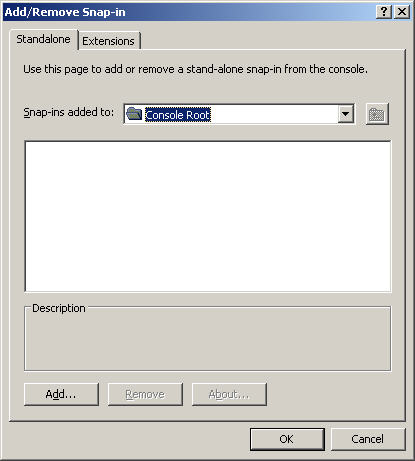
- Under the File menu, select “Add/Remove Snap In”. Click the Add button at the bottom of the new dialog:
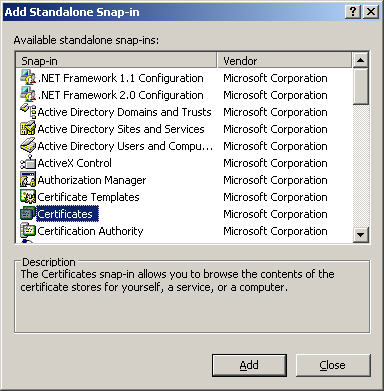
- From the list of snap-ins that appears, select Certificates:
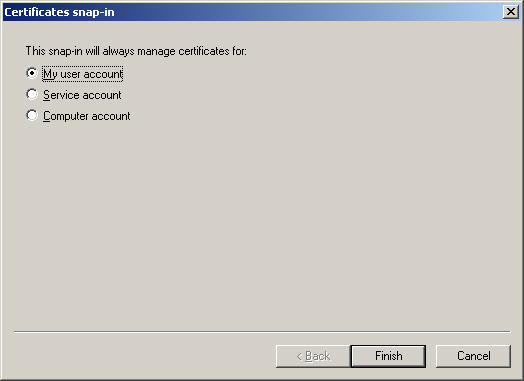
- Choose the “Computer Account” option then click “Finish”:
- Close the Add Snap-ins dialog.
- Click OK on the Add/Remove Snap-ins dialog and return to the main MMC window.
- In the MMC left pane, expand the Certificates option, if it is not already expanded. Right-click on “Intermediate Certificate Authorities” and select “All Tasks”, then click the “Import” option from the pop-up menu. This will display the Certificate Import Wizard. Click Next.
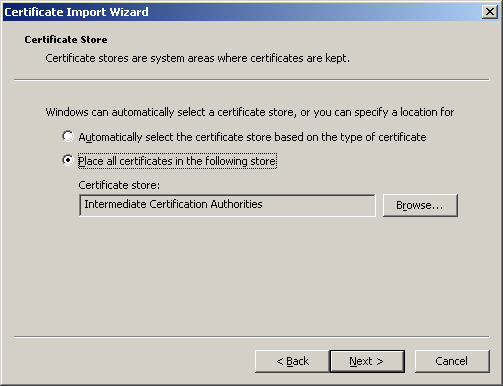
- Use the Browse button to locate the certificate file, click Next, then select “Place all certificates in the following store” and click Next:
- Click Finish to complete the importation of the certificate. A confirmation dialog should appear if the certificate was read correctly.
Then second part of the installation process for the SSL Certificate is to tell IIS about the certificate. Follow these steps:
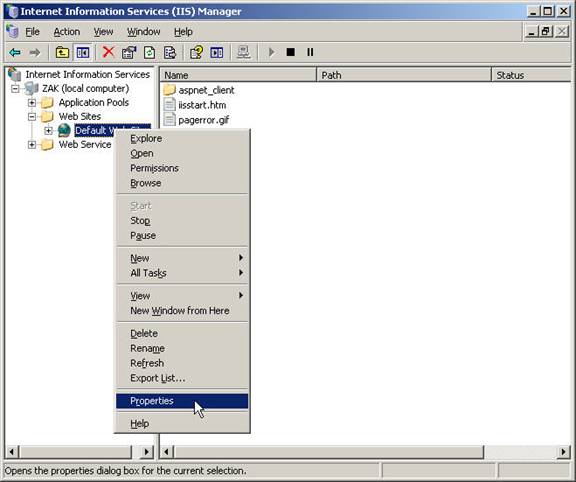
- Open the IIS Manager. Right-click the Web site the certificate applies to and select Properties:
- Select the Directory Security tab, then the Server Certificate button to open the Server Certificate Wizard
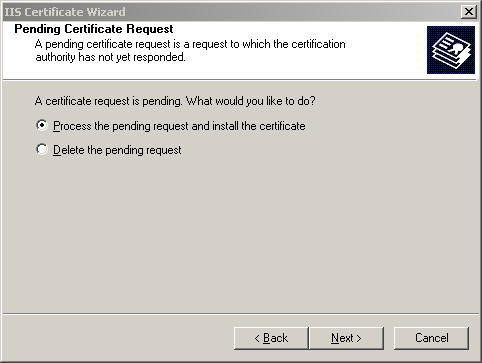
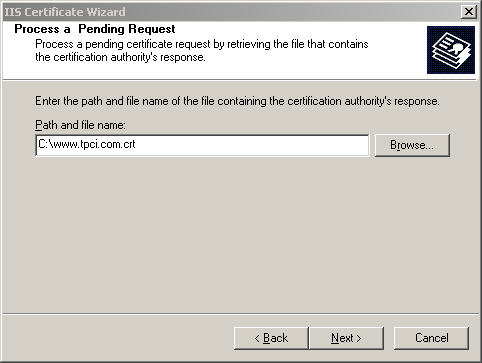
- Select the “Process the pending request and install the certificate” option (this only appears after you have created a CSR):
- Click the Next button and use the Browse button to locate the SSL Certificate file from the Certificate Authority (note that you may have to change the file extension and search for all files, depending on the Certificate format):
- Click Next. You may be asked for the port to use for this SSL Certificate (the default port for SSL is 443 but you can change this value as long as your Web server knows which ports to expect incoming information on).
- A summary window appears, and clicking Finish will complete the installation of the SSL Certificate.
The SSL Certificate is now installed on your web server, and anyone connecting to your site on the port set for SSL will be able to establish a secure connection to your server.
Testing the SSL Certificate
The easiest way to test your SSL Certificate is to use your browser to connect to your site. When you enter the URL that is supposed to be protected by SSL, the browser will download the certificate, verify it, and then create the secure connection. This can happen even on the machine the server resides on.
If the SSL connection is created successfully, the lock icon will appear. If there is a problem with the certificate of the SSL connection could not be established, you’ll see an error dialog from your browser.
There are many reasons why an SSL connection is not established right away. The most common has to do with ports. Your web server uses a particular port for SSL connections, and if the server is not configured to recognize traffic on that port, it will be ignored. You also must ensure your firewalls and other security software allows traffic on your SSL port. Opening and managing these ports is a separate subject we won’t examine here.
How your SSL Certificate Works
Once you’ve installed your SSL Certificate, your web server can then establish SSL connection with any browser.
When a user surfs to your site, their browser will request your site’s SSL Certificate. It checks to ensure the certificate has not expired, and then uses the public encryption key to create a secure connection to your web server. If this is completed without problem, the lock icon appears on the browser status bar. In many cases, the URL changes to “https” as well, although this depends on whether you redirect a secure connection to a new URL on your site. If, for some reason, a secure connection cannot be established with your site, the user’s browser will display a dialog information them of the fact.
Renewing SSL Certificates
All SSL Certificates have an expiry date attached to them. When a certificate expires, the SSL connection will be refused. To renew a certificate, you can use the same Certificate Authority you created the certificate with, or any other Certificate Authority.
Usually, the Certificate Authority you created the certificate with wants to retain you as a customer, so they offer special renewal terms. Typically, renewing with the creating Certificate Authority is simply a matter of accepting an offer and paying the fees. A new certificate is then issued which needs to be installed on your web server.
If you want to change Certificate Authorities, you need to create a new certificate from scratch, and then install it on your web server. Since the process to create a new certificate is not difficult, you can shop around for the best deal on a certificate every renewal time. Your new certificate can overlap the expiry date of the old certificate, and the old one will simply be ignored.
|
|