|
This is a two part article. There are prerequisites to installing SharePoint Server 2010, please visit the Prerequisites to this Article. Part 1 will cover the Hardware and Software requirements, the prerequisites to the initial setup of Microsoft SharePoint Server 2010 and the introduction to the installation. Go to Part 2 of this article.
Installation and configuration of Microsoft SharePoint Server 2010 on a new server
1. Hardware and Software requirements
2. Pre-requisites
3. Installation
4. Post Setup Configuration
1. Hardware and Software requirements
Microsoft SharePoint Server 2010 can be only installed on a 64-bit hardware and Microsoft provides the detailed hardware and software requirements in the following TechNet article.
http://technet.microsoft.com/en-us/library/cc262485(office.14).aspx#section2
2. Pre-requisites
In the previous versions of SharePoint, the administrator has to find out all the pre-requisites manually and ensure that it is installed before the installation of SharePoint and this used to be a tedious task even for IT Pro’s. In this release Microsoft has included a Prerequisite Installer (Preparation Tool) which will take care of all the pre-requisites which are required to setup a SharePoint Server. The tool would connect to Internet to download and install any prerequisites as well as enabling and configuring any Windows features and roles required by setup. Also the administrator can override this if the necessary software is already present in the hard disk or in a network location.
The Preparation Tool executable, Prerequisiteinstaller.exe, is located at the root of the setup folder. It can also be launched from the setup splash screen. When you run the Prerequisiteinstaller.exe /? , the following screen is shown which will list the command-line parameters that can be used with this executable.
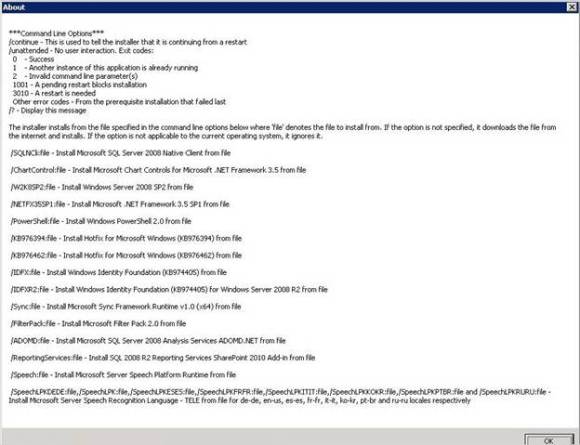
You can also install the pre-requisite from a folder if it is already downloaded from the internet and the SharePoint server doesn’t have internet access.
C:\setup\prerequinstaller.exe /IDFX:c:\GenevaFramework.amd64.msi
It is possible to include multiple file location parameters for the different components. In the following example, we've also added local file location parameter for both the IDFX and Sync framework:
C:\setup\prerequinstaller.exe /IDFX:c:\GenevaFramework.amd64.msi /SYNC c:\sync.msi
To install the Pre-requisites, run the prerequisiteinstaller.exe in the installation media of SharePoint or run the Splash which will provide you the following screen.
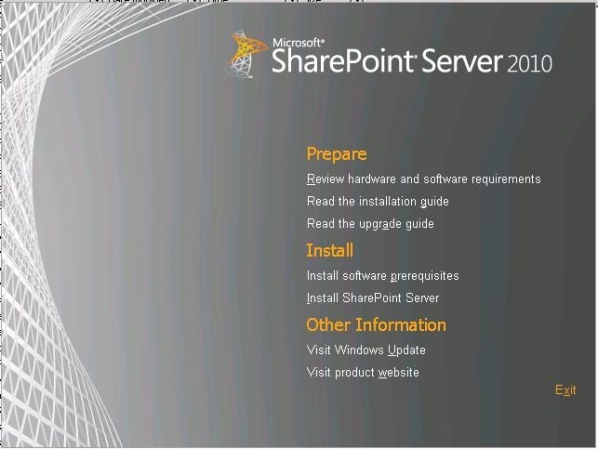
Click on the “Install Software prerequisites” option which will start the installation of the necessary pre-requisites.
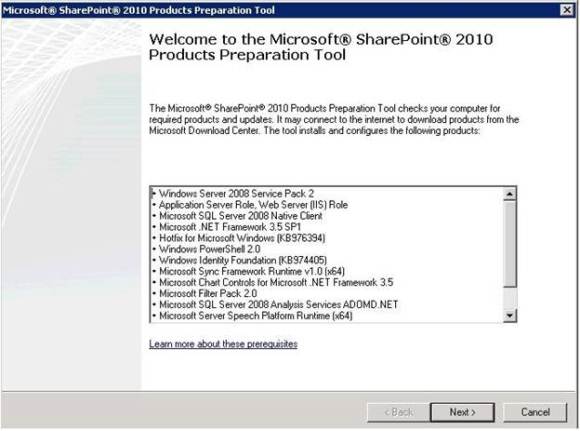
You can get the download link for each of the required product when you click Learn more about these prerequisites in the above screen.
Click Next will start the download and installation of pre-requisites from the internet.
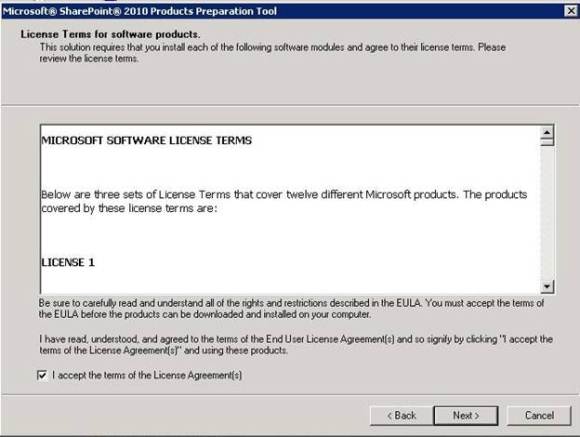
Accept the EULA and click Next and this will start the installation of the required product.
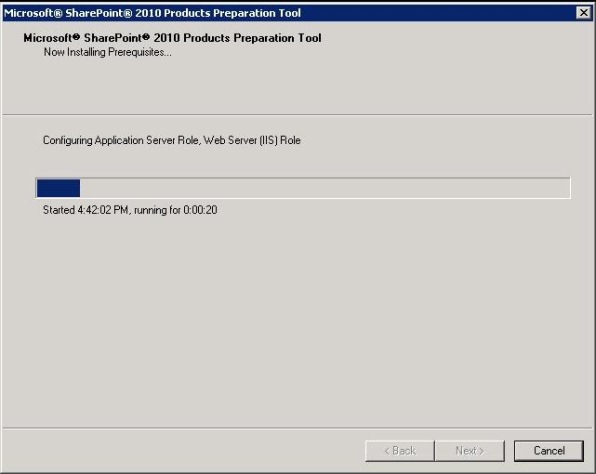
Some of them may require a Restart and the pre-requisite installer will continue once the system is restarted.
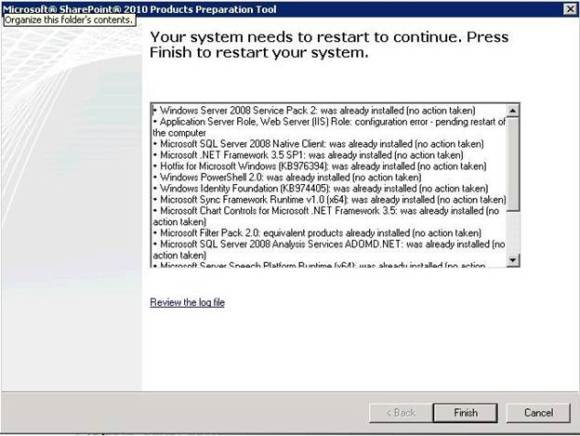
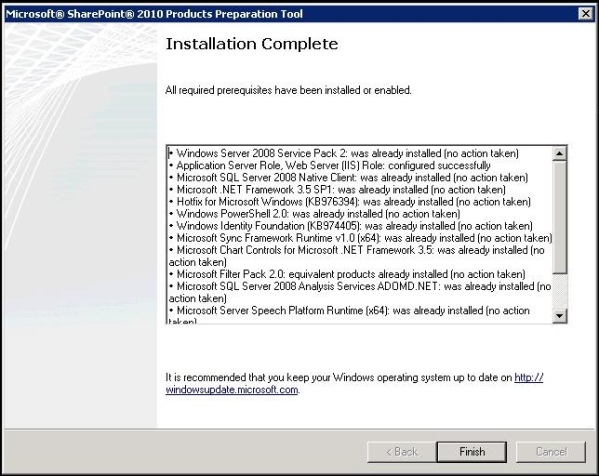
There is a link called “Review the log file” in the above screen which will help to find out any issue with the installation of the Pre-requisites. Once the installation is complete, you will see the following screen and it means that all the required Pre-requisites are installed and configured on the server and you can start the installation of SharePoint.
3. Installation of SharePoint Server 2010
When installing SharePoint Server 2010, there are primarily three setup options. Following is a short description of each type of installation:
· Standalone Installation:
o SQL Server 2008 Express Edition is the database type automatically installed (instead of Windows Internal Database/SQL Server 2005 Embedded Edition used in Windows SharePoint Services 3.0).
o This is almost a “one-click” installation, no questions are asked during setup or during Post Setup Configuration Wizard (PSConfig)
o A Web application and team site collection are automatically created in the newly created farm. The search service is started automatically.
o Cannot add servers to join a farm.
o When the installation is complete, the browser opens taking you to a newly created site collection.
o Installer is not prompted for farm passphrase, it is automatically generated.
· Server Farm Standalone
o Same as Basic installation, except it allows changing installation directory location.
· Server Farm Complete
o SQL Server 2005 SP2/SQL Server 2008 is the database type, not installed by setup.
o Administrator can pick whether or not to create a site and the site template to use.
o Prompted for farm passphrase during PSConfig phase of installation. The farm passphrase will be discussed later in this document.
To run setup you must at minimum be a local administrator on the computer where SharePoint Server 2010 is installed.
Run the Splash from the setup media which will show the above screen and click on “Install SharePoint Server” which will start the installation process.
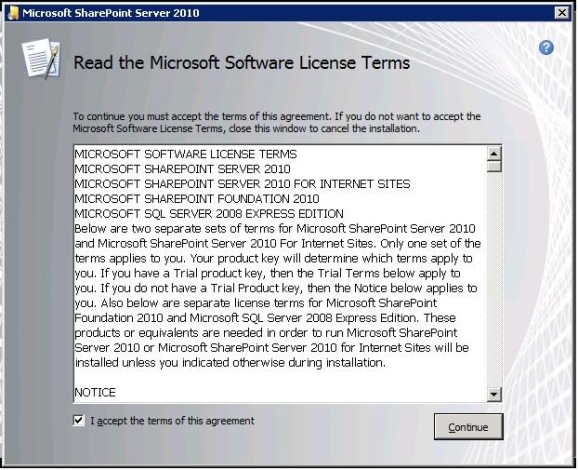
Accept the EULA and click on Continue which will give you the option to enter the Product key.
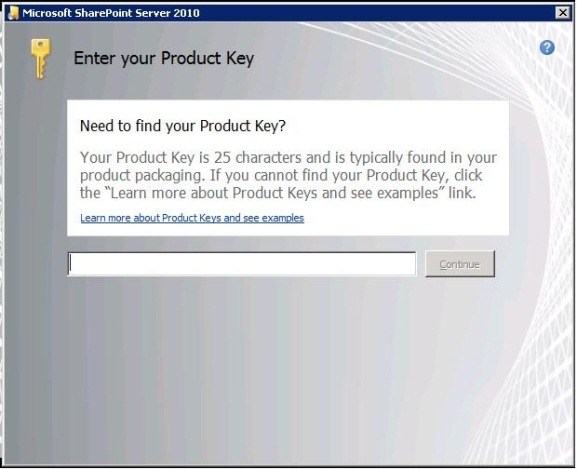
Enter the Product Key and the Continue button will get activated if it is a valid one and click Continue.
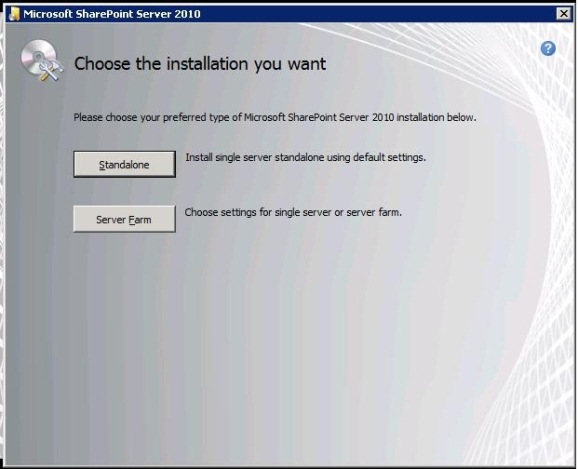
The different installation types are discussed initially. If you don’t have a separate SQL server instance, then you can click on the “Standalone” button or “Server Farm Standalone”. The installation of SharePoint using the Standalone option is a very straightforward one and no option to provide any input and your server would be ready for consumption after some time. Also it is discussed in detail in the Installation of Microsoft SharePoint Foundation document.
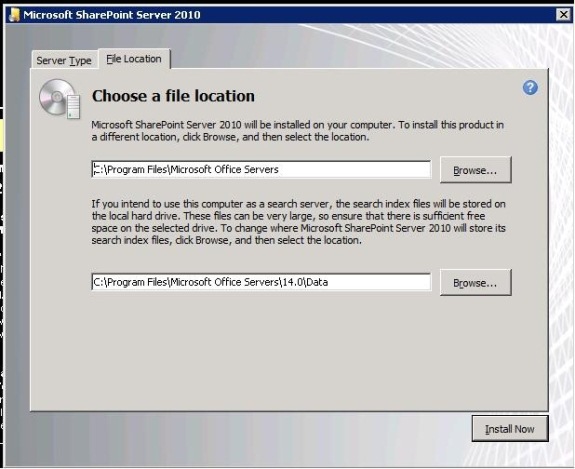
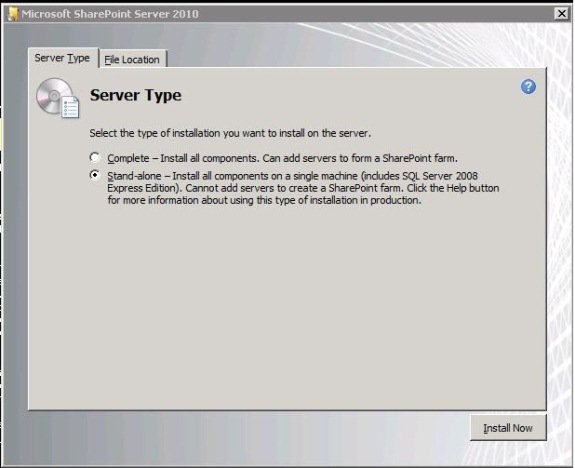
Click on “Server Farm” which will bring the above screen. Select the “Complete” option and click on the File Location tab. The default installation location is shown and has the option to modify the same. Also the location in which the Search Index is stored is also shown and has the option to change it.
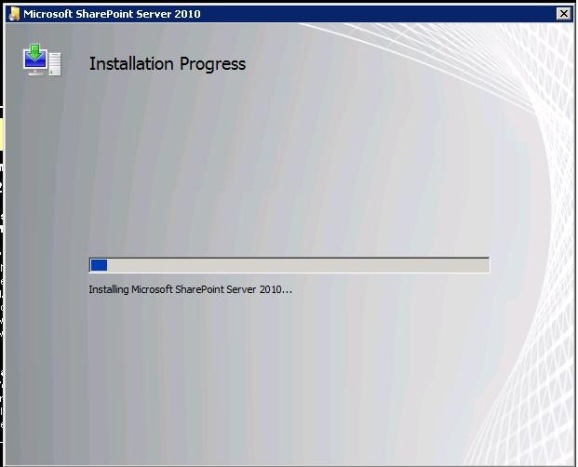
Click on Install Now which will trigger the installation process of SharePoint Server 2010.
Continue to Part 2
|