SharePoint Search Results Customizations
Version 1.0
Topics Covered –
1. Customization to highlight search keyword
2. Customization to open Search result items in new window
3. Customize People Search result
Search is one of the most extensively used features within in a SharePoint portal. No one has doubt as to the accuracy and effectiveness of SharePoint searches. Often businesses have requirements for customization in searches to display and make them more effective and relevant to their needs. In this article we will discuss some of these easy to implement search customization techniques.
Customization to highlight search keyword
When you perform a search in MOSS 2007 a search core result webpart is used to display the search results. The displayed search results are in an actual XML file transformed to display the results in html format. If one wants to modify the search results in the display he will need to customize the XSLT files. This may sound like a dirty way of modifying the search results display but in fact it is much easier and quicker of a job to modify the XSLT files than one might think. Let us see how quick it is to do this:
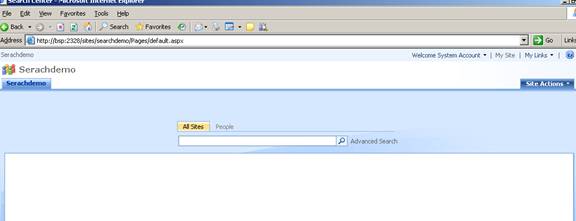
To demonstrate the customization we have created a site collection with Enterprise Search template.
Figure 1. Sharepoint site search page
Steps:
- Go to Site search box.
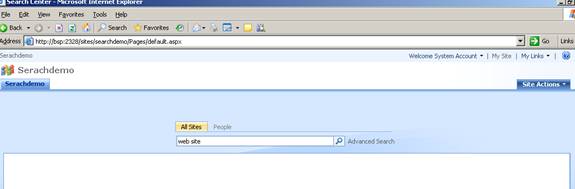
- Search for any keyword e.g. We are searching for word web site
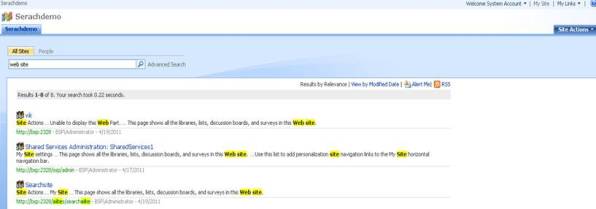
Figure 2. Searching for keyword ‘web site’
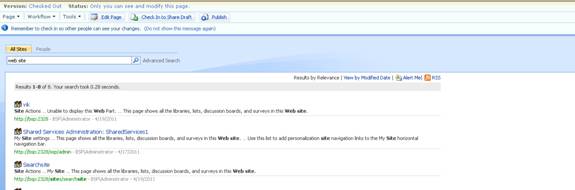
- By default SharePoint search results displayed search keyword in bold( see Figure 3 ).
Figure 3. Sharepoint site result page
Now we can have a business requirement where users need the keyword to be highlighted in yellow color in place of bold text on search result page. To implement this we need to modify the core search results XSLT.
Steps to implement the change:
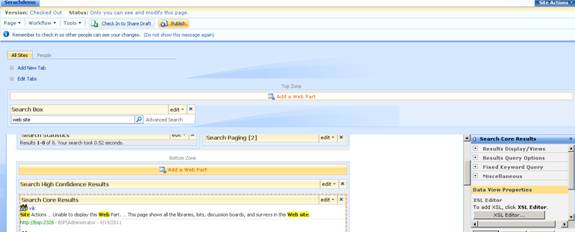
- On search result page where keyword are currently appearing in bold, click site actions and go to edit page. Now All webpart on page will appear in editable format.
- To modify the display we need to edit search core results webpart, locate this webpart on page and click on edit webpart option.
- Now it will open the tool pane of webpart in right side, click on XSLT Edit button in tool pane. It will open the webpart XSLT.
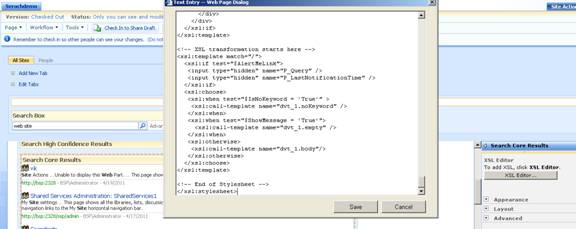
Figure 4. Search core results webpart in editable format
Now first take a backup of XSLT.
Now copy the xslt in a blank text file and save it as xml.
Open the XML and locate the text block
<xsl:template match="c0">
- <b>
<xsl:value-of select="." />
</b>
</xsl:template>
- <xsl:template match="c1">
- <b>
<xsl:value-of select="." />
</b>
</xsl:template>
- <xsl:template match="c2">
- <b>
<xsl:value-of select="." />
</b>
</xsl:template>
- <xsl:template match="c3">
- <b>
<xsl:value-of select="." />
</b>
</xsl:template>
- <xsl:template match="c4">
- <b>
<xsl:value-of select="." />
</b>
</xsl:template>
- <xsl:template match="c5">
- <b>
<xsl:value-of select="." />
</b>
</xsl:template>
- <xsl:template match="c6">
- <b>
<xsl:value-of select="." />
</b>
</xsl:template>
- <xsl:template match="c7">
- <b>
<xsl:value-of select="." />
</b>
</xsl:template>
- <xsl:template match="c8">
- <b>
<xsl:value-of select="." />
</b>
</xsl:template>
- <xsl:template match="c9">
- <b>
<xsl:value-of select="." />
</b>
</xsl:template>
Now replace above text block in xml with below text block
<xsl:template match="ddd">…</xsl:template>
- <xsl:template match="c0">
- <span style="background-color:yellow">
- <b>
<xsl:value-of select="." />
</b>
</span>
</xsl:template>
- <xsl:template match="c1">
- <span style="background-color:yellow">
- <b>
<xsl:value-of select="." />
</b>
</span>
</xsl:template>
- <xsl:template match="c2">
- <span style="background-color:yellow">
- <b>
<xsl:value-of select="." />
</b>
</span>
</xsl:template>
- <xsl:template match="c3">
- <span style="background-color:yellow">
- <b>
<xsl:value-of select="." />
</b>
</span>
</xsl:template>
- <xsl:template match="c4">
- <span style="background-color:yellow">
- <b>
<xsl:value-of select="." />
</b>
</span>
</xsl:template>
- <xsl:template match="c5">
- <span style="background-color:yellow">
- <b>
<xsl:value-of select="." />
</b>
</span>
</xsl:template>
- <xsl:template match="c6">
- <span style="background-color:yellow">
- <b>
<xsl:value-of select="." />
</b>
</span>
</xsl:template>
- <xsl:template match="c7">
- <span style="background-color:yellow">
- <b>
<xsl:value-of select="." />
</b>
</span>
</xsl:template>
- <xsl:template match="c8">
- <span style="background-color:yellow">
- <b>
<xsl:value-of select="." />
</b>
</span>
</xsl:template>
- <xsl:template match="c9">
- <span style="background-color:yellow">
- <b>
<xsl:value-of select="." />
</b>
</span>
</xsl:template>
Now Again open XSLT editor of webpart and replace the xslt with modified XML.
Once you apply changes in Search core results webpart tool pane, you can immediately see that keyword in search results are now highlighted in yellow color( see Figure 5).
Now publish the page and exit from editable mode.
Figure 5. Search core results webpart after implementing the change.
Now go to search homepage and again perform search on same keyword.
This time you will see keyword in search result will appear in Yellow color in place of bold text.
Figure 5. Search results with new XSLT
Simple! Yes it is.
Customization to open Search result in new window
By default when you open an document returned by search result by clicking the title,image or url of document, it opened the document in same window. Sometime SharePoint users found it very difficult as they wants to review more than one item from search result and once they click one item it opened in the search result window, also sometime closure of opened document results in closure of search result page. Here we will how we can customize search result to open the search result items in new window.
1. Go to SharePoint site
2. Perform a search on site
3. Search result page will open.
4. On this page go to Edit page option.
5. On search core results webpart click on edit webpart option
6. In webpart properties, Click on the XSL Editor Button
7. Take backup of XSLT file before modification.
8. Now copy XSLT and open it in text pad
Search for the lines:
<span class=”srch-Icon”>
<a href=”{$url}” id=”{concat(‘CSR_IMG_’,$id)}” title=”{$url}”>
<span class=”srch-Title”>
<a href=”{$url}” id=”{concat(‘CSR_’,$id)}” title=”{$url}”>
<span class=”srch-URL”>
<a href=”{$url}” id=”{concat(‘CSR_U_’,$id)}” title=”{$url}” dir=”ltr”>
Above lines create item url for Icon, Title and URL of search result. In current state these will open items on search result page. Now we want to open the link open in a new window. To achieve this we will add on target=”_blank” at the end of href tag.
<span class=”srch-Icon”>
<a href=”{$url}” id=”{concat(‘CSR_IMG_’,$id)}” title=”{$url}” target =”_blank”>
<span class=”srch-Title”>
<a href=”{$url}” id=”{concat(‘CSR_’,$id)}” title=”{$url}” target =”_blank”>>
<span class=”srch-URL”>
<a href=”{$url}” id=”{concat(‘CSR_U_’,$id)}” title=”{$url}” dir=”ltr” target =”_blank”>
Now update Webpart XSLT with these modifications.
Exit from editable mode.
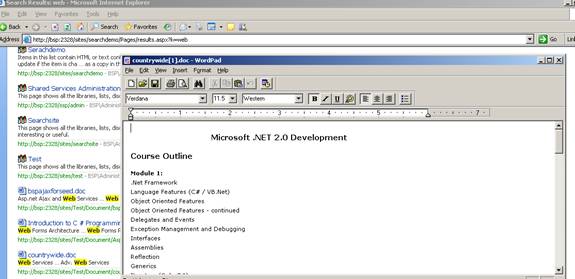
Now re perform the search and open item retuned in search results. Now all items will open in new window. See below, click on countrywide.doc opened page in new window.
Customizing People Search Result
Similar to SharePoint Site search you can customize people search by modifying the XSLT. Here we will show you one example of that.
In this example we will modify the URL of People Search results. Suppose your organization maintain a custom page on intranet portal for all employee and they wants that whenever you click on image url on people search, it should redirect user to this user’s intranet page . So here we will modify url to redirect users to link outside SharePoint.
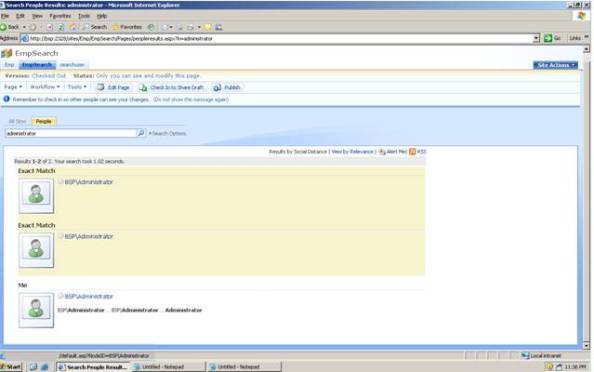
Suppose you perform search for user Vik and on search result page you should be redirected to http://myintranet/default.aspx? Node =’Vik’ .
- Go to people search textbox box.
- Search for any user (does not matter user exist or not).
- peopleresults.aspx page will open.
- On this page Go to Edit page option
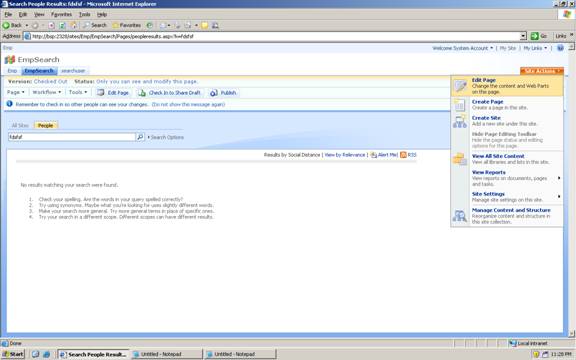
- Page will open in editable mode.
- Click on ModifySharedWebpart option in People Search Core Result(see below screen)
- Click on xslt editor in webpart property.Xslt dialog will open on screen.
- First take backup of existing xsl file in txt file.
- Now replace text of xsl file with the custom xsl file.
- Click on apply in webpart property.
- Now again search in people search box.
- In search result go to people image in front of search result. You can see modified url in below bar(see below screen).
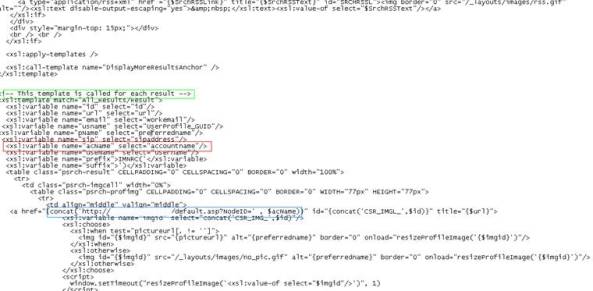
Customization Detail:
- Open xls file of PeopleSerachResult webpart.
- Search for the section commented as <!-- This template is called for each result ->(See green rectangle on below screen)
- Add code line mentioned in red rectangle. This will fetch account name value in variable acName.
- Change href for the image as mentioned in blue rectangle.
- Save the xls and start searching. You will get required url on search result image.