How to install DotNetNuke 6.0
DotNetNuke is a content management system based on Microsoft's .Net Technology that allow non-technical users to create, modify and customize the appearance and working of their websites. Microsoft recently released DotNetNuke 6 that allows much more simplified user interface and increases productivity by making it much easier for the user to build and maintain websites.
In this tutorial we will walk you through a detailed step-by-step process to download and install DotNetNuke 6.
Specifications:
Before starting we should be well aware of the installation requirements.
- DotNetNuke 6 requires Microsoft SQL Server 2005/2008 or SQL Express
- Microsoft IIS (Internet Information Services) 5+, IIS 7 are recommended
- Microsoft .NET 3.5 SP1 ( can be obtained via Windows Update)
There are no specific hardware requirements for DotNetNuke 6, just make sure that the above listed tools are smoothly executable at your machine.
Downloading the Package:
DotNetNuke 6 package can be downloaded from
http://www.codeplex.com/. All we need is to visit the website, search with the keyword "dotnetnuke 6" and the top most result would be the one we should be looking at. For your ease here is a
link that will navigate you directly to the installation package.

Once the installation package has been downloaded, the next step is to extract the contents of the ZIP archive to any local folder. Make sure to uncheck the "block option" under properties, sometime this option comes as "checked" when zip files are downloaded.
Installing DotNetNuke 6:
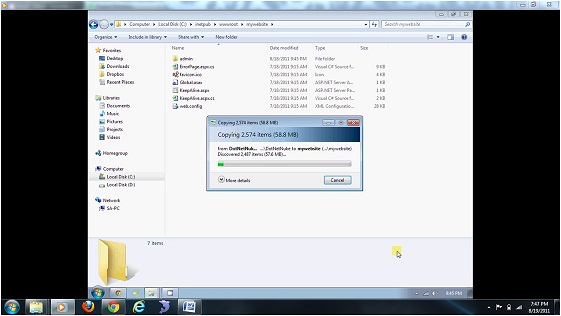
To begin the installation processes we will first create a directory in c:\inetpub\wwwroot\ called "mywebsite" which would look like this c:\inetpub\wwwroot\mywebsite\. Now copy the extracted files to c:\inetpub\wwwroot\mywebsite\ to this folder.
 Setting up IIS:
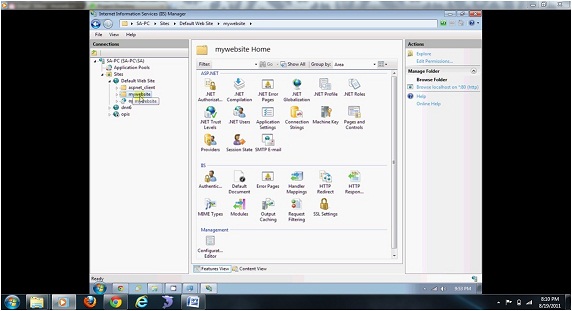
In the next step we will setup a web service and that’s where Internet Information Services (IIS) will come into play. To access IIS, go to Start Menu>>Control Panel>>Administrative Tools and double click Internet Information Service (IIS) Manager. Now look for "Default Web Site"; you will find this on expanding your "web server" and "sites" nodes in the left column, as can be seen in the screenshot.
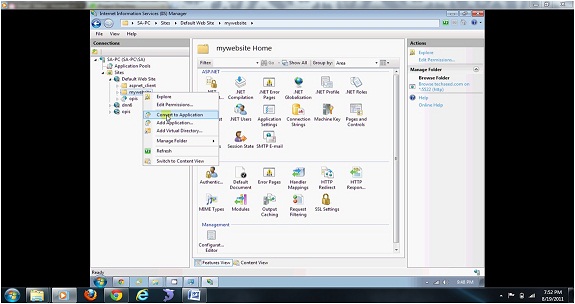
Under "Default Web Site" you will find the folder "mywebsite"- the folder where we just copied the extracted files. Right click the folder "mywebsite" and click the option "convert to application" and press "OK", we need not change anything in the dialog box. Just make sure that "applicationpool" is set as DefaultAppPool and "physicalpath" is our current directory path.
Setting up permissions:
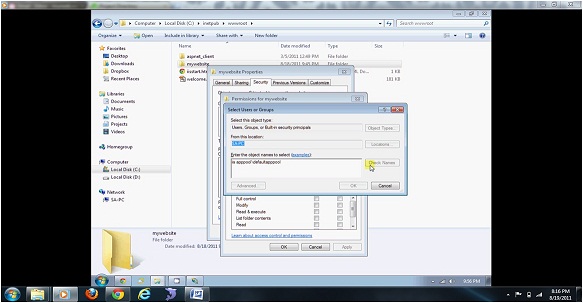
Now we have to allow the user who will run the website to have a full control on the website. To setup the permissions go back to the wwwroot directory and right click the folder "mywebsite" and go to properties. Navigate to "Security" tab and click "edit" to change permissions. Under the dialog box for permissions click "Add", type "IIS AppPool\defaultAppPool" as user, click "Check Names" and press OK. Check the "full control" option under the permissions box for "defaultAppPool".
Creating Database:
The next step is to create a database. We will create a new database under SQL 2008 Management Studio.
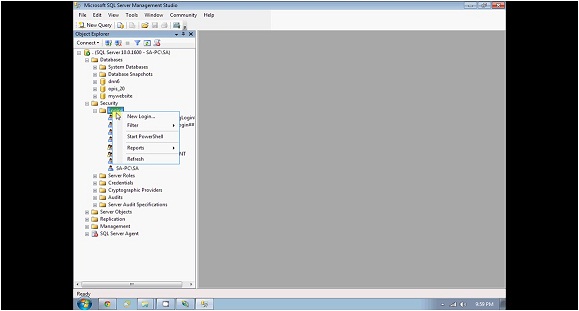
To do this we will expand the Database node in the left column of SQL Studio to create a new database. To keep it simple we will give database same name as that of the site we have created, i.e. "mywebsite". Also, we will create a user that will be the database owner. To setup the user expand the "Security" node and right click the "login" node and select "New Login", security node can be found just below the database node.
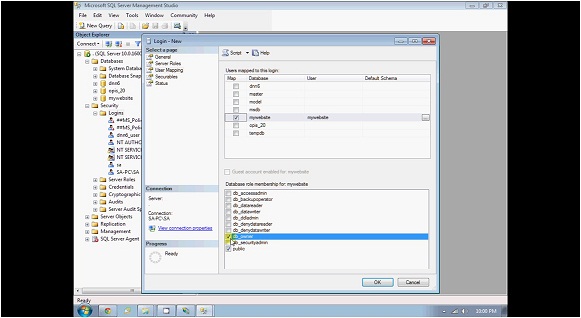
Again for the sake of consistency we will give same name to the user as that of the site "mywebsite". We will select SQL Server Authentication to set a password, for now we are not going to Enforce Password Policy just to make it simple. With that done the next step is "User Mapping", select the database that we have just created which is called "mywebsite" and check "db_owner" and click OK. The new login has been added.
Running the Installation wizard:
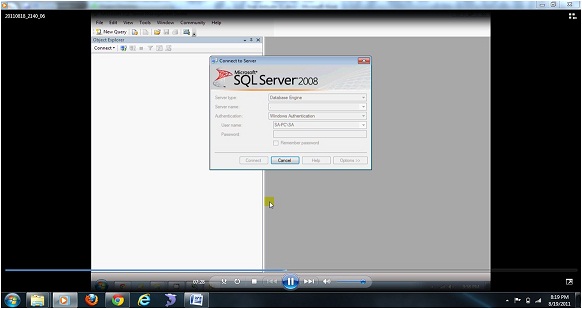
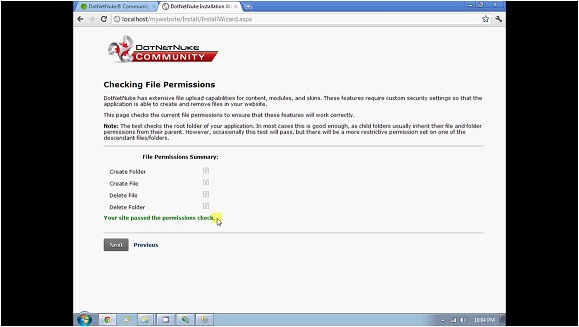
Now it's just the matter of running the installation wizard. Let's go back to the internet browser and type https://localhost/mywebsite, this address will take you to the graphical interface of the installation process. Keep the installation method as "Typical" and press Next, you should see a message in green words stating "you site has passed permission checks" now press Next again.
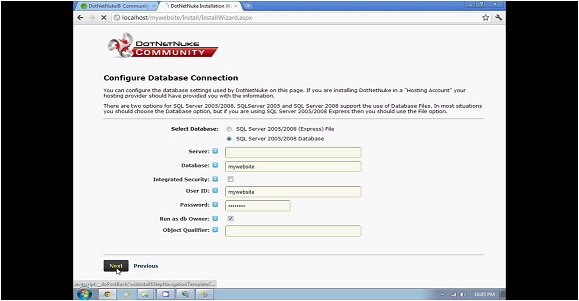
This will take you to the configuration of database connections; here we will select our database type and give our database name. We will not select the integrated security because we have already created a user for this database which is "mywebsite" and of course we have to provide the password in the related field. Run the wizard as "db_owner" and no need to direct to any "Object Qualifier".
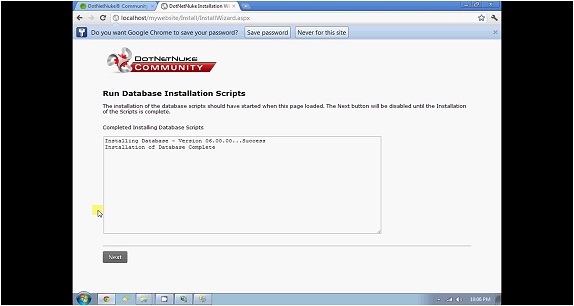
Press Next button and wait for few second at you screen to see the success message: Installation of the Database Complete.
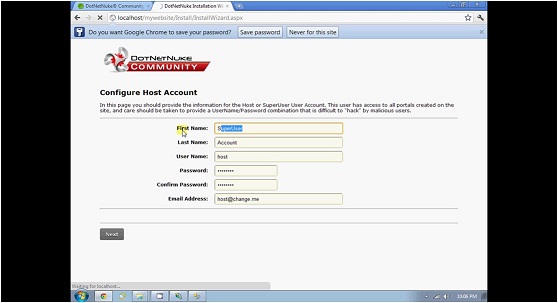
Here the installation of the DotNetNuke 6 has been completed. Click Next to create/configure your host account by providing username and password and this will make us login as a super user.
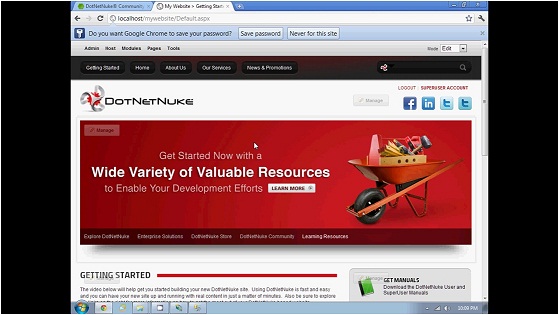
Enjoy....!